Downloading KanexPro software and firmware safely
How KanexPro checks firmware and software downloads, how to verify a file's SHA-256 fingerprint, what the Windows SmartScreen warning means, and…


This guide covers deploying KanexPro Presentation switchers in medium-to-large conference rooms where multiple BYOD and legacy sources need to share one or two displays, with HDBaseT extension, Dante audio, and optional USB KVM.
Run a single CAT6a cable from the switcher’s HDBaseT output to a compatible HDBaseT receiver located near the display. The receiver connects to the display via HDMI. This eliminates long HDMI runs across the room — CAT6a is easier to route and supports distances up to 70 meters at 4K60.
Both SW-xPS switchers include a Dante AV port. Connect this to the managed network switch (on the Dante VLAN). Use Dante Controller software to route audio to any Dante-enabled speaker, amplifier, or DSP on the network. Analog balanced outputs are also available for direct connection to amplifiers.
Connect a USB hub with shared room peripherals (webcam, speakerphone, USB mouse) to the switcher’s USB 3.2 port. When a presenter switches input, USB control transfers to the active source automatically.
How KanexPro checks firmware and software downloads, how to verify a file's SHA-256 fingerprint, what the Windows SmartScreen warning means, and…
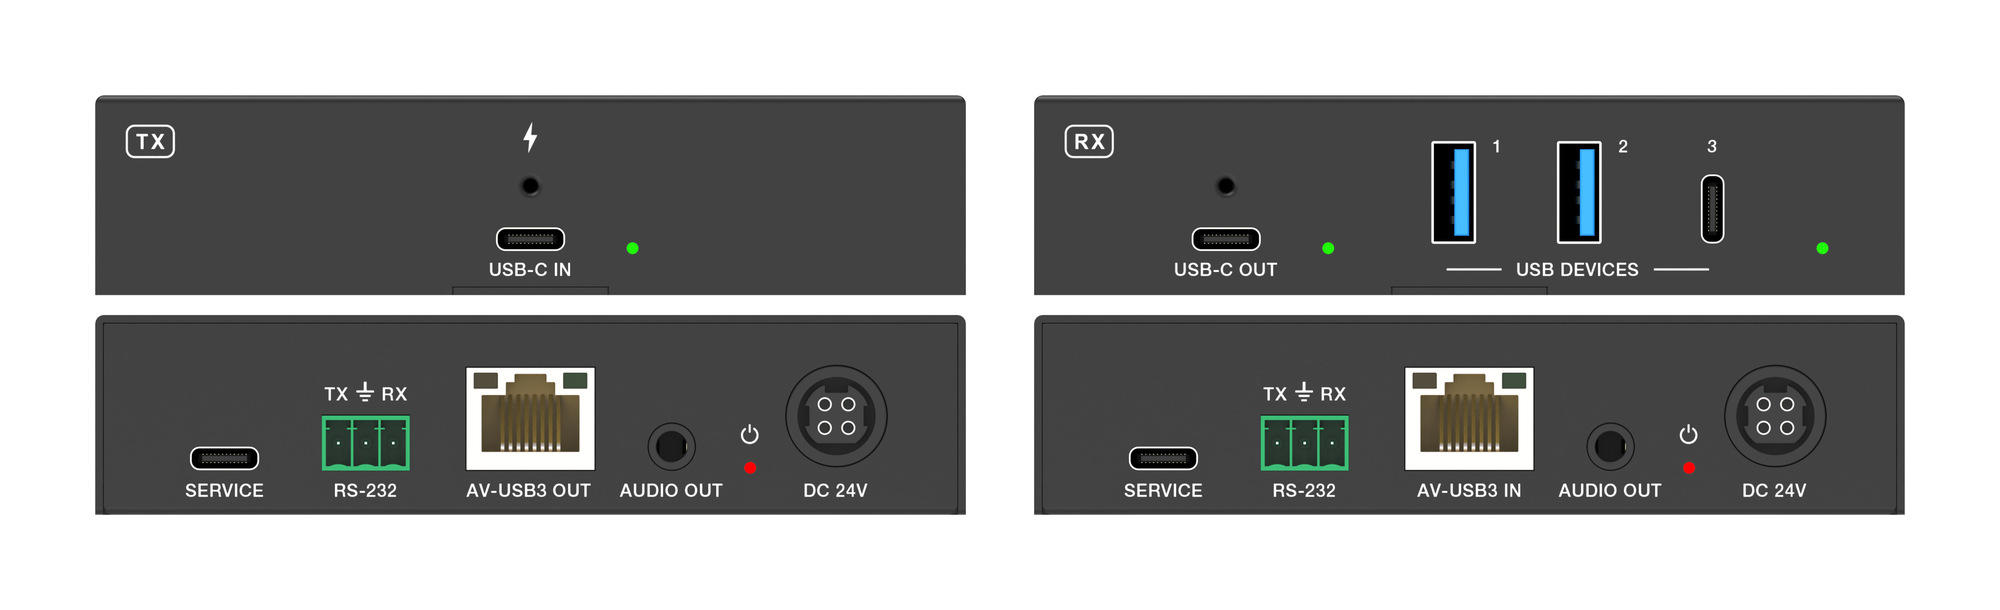
The EXT-USBC2C4K-40M carries USB-C video, USB 3.2 data, touch return and 100W charging up to 40m over one CAT6a cable at 4K.
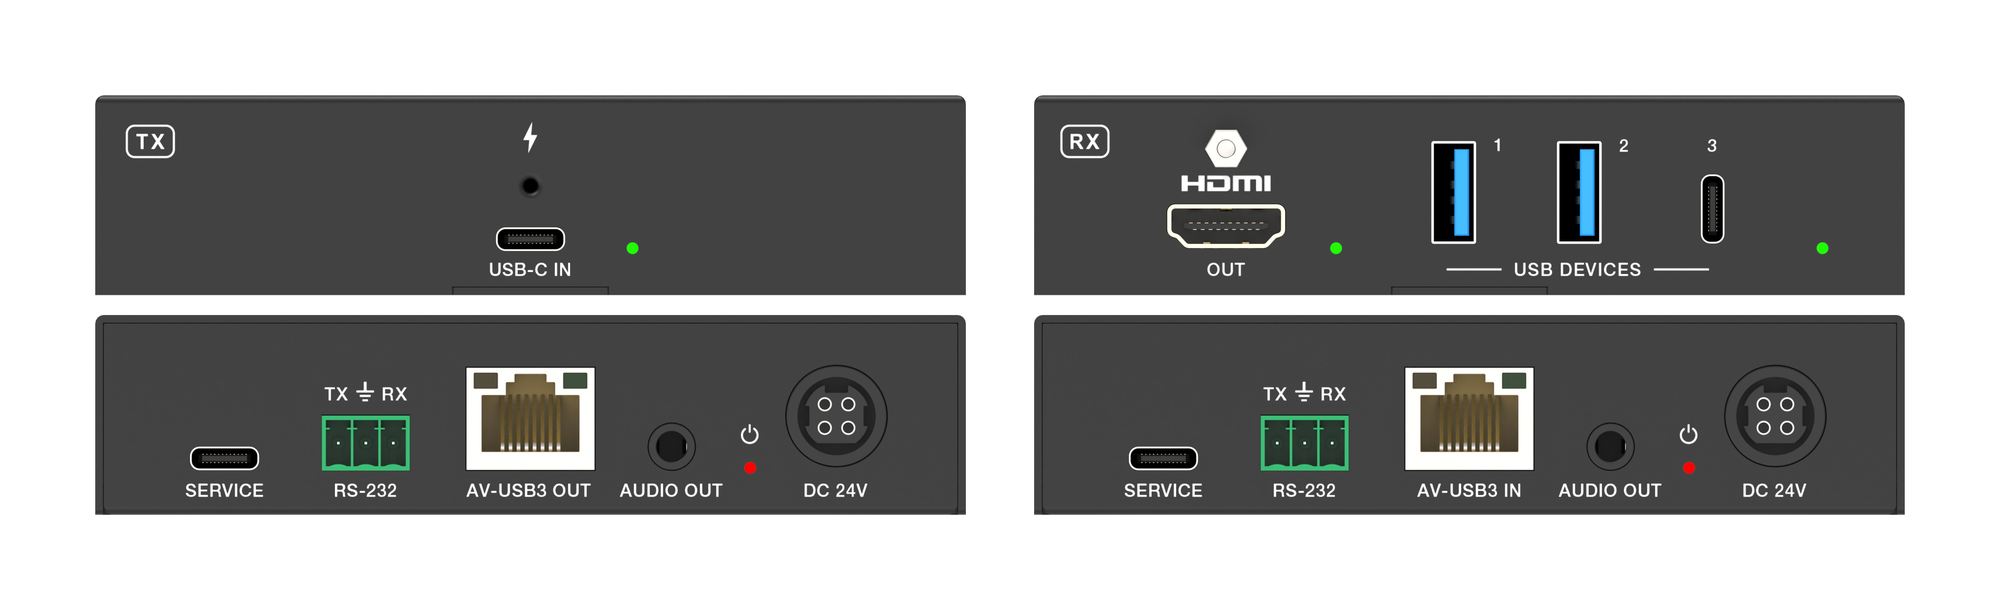
It carries 4K60 video, USB 3.2 data and up to 100W laptop charging from one USB-C port over a single CAT6a run, up to 40m at 4K.
KanexPro sells direct to dealers, resellers, installers and integrators, and through distribution. Whichever way you buy, the same engineers answer the phone.
The trade store: your own account, live stock, reordering, and a first look at new products.
Go to the trade store →Distribution and authorised resellers across the US and beyond.
See where to buy →Design help on extenders, matrix and AV over IP before you spec it.
Ask an engineer →